

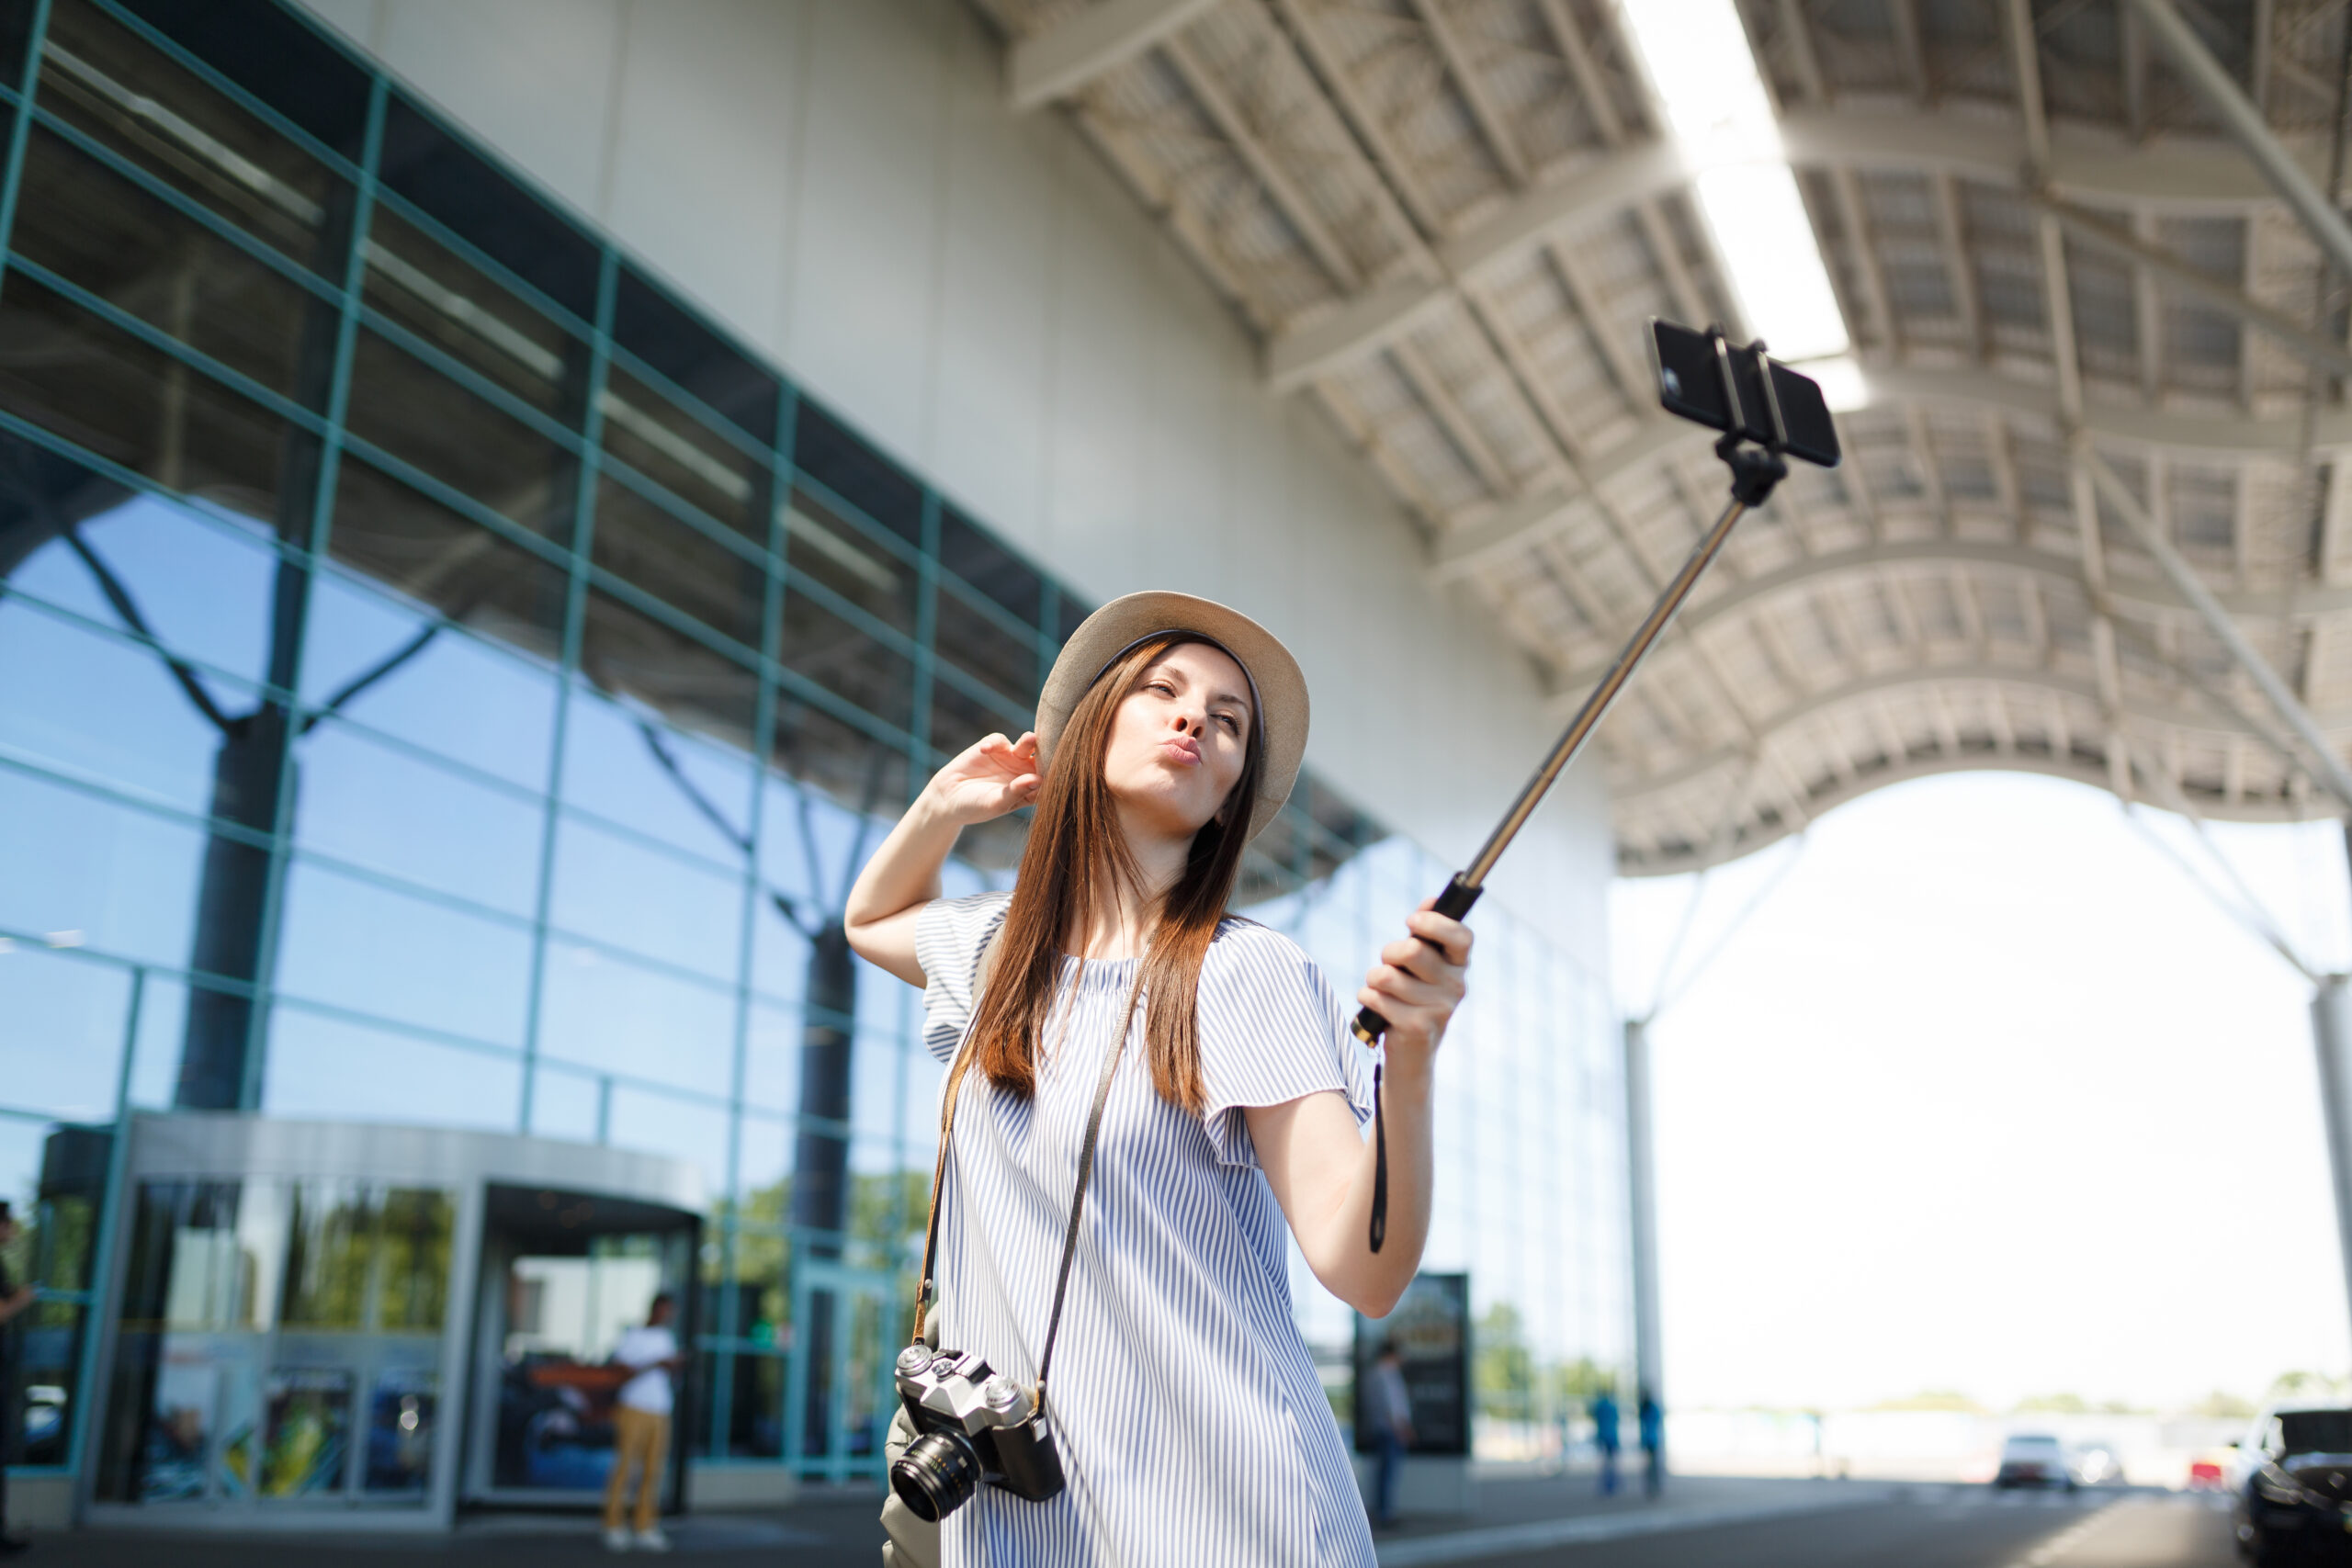

The smartphone photography as we know it some years ago is not the same as we know it today, the world of technology has change how people take pictures this day. In today’s advance fast pasta world, you can take a fully professional photography with a smartphone and the most amazing part of it is that it’s very easy to take pictures with your smartphone just a click of a button you have taken amazing pictures.
Your smartphone is always with you, a constant companion that can connect to the web to look up any tiny nugget of trivia, and generally keep you in constant contact with the outside world. It’s one of the key items you grab before leaving the house, and the last time you (probably) turned it off was at the movie theater.
This also makes your phone your take-everywhere, shoot-anything digital camera. Just a few short years ago, making images and video with smartphones was a compromise, with poorer image quality but a heck of a lot more convenience than a good point-and-shoot camera.
But times have changed and phone cameras have gotten better and better. The latest models offer superior imaging and video to budget point-and-shoot cameras, and offer nifty software tricks to blur backgrounds, just like an SLR and f/2 or f/1.4 lens.
So today I’m going to show you my readers some amazing smartphone photography tips and tricks that will help you take better pictures with just a click of a button, without no further ado let’s get started.
YOU MAY LIKE: Social Media: 7 Easy Ways to Make Your Video Go Viral
Smartphone Photography Tips And Tricks
- Start With A Good Camera Phone:

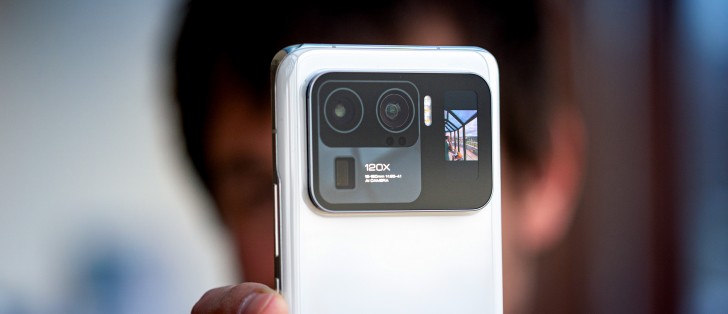
- Smartphone camera quality has enjoyed a big leap forward in quality over the past couple of years. If you’re using an older handset, chances are the camera isn’t up to snuff. If camera quality is a priority when shopping for a new one, make sure you peruse our list of the top camera phones we’ve tested. But remember that you really can’t go wrong with the latest Apple iPhone, Google Pixel, OnePlus, or Samsung Galaxy devices.
- Look For The Light:

Smartphones have very bright lenses and include special modes for making images in very dim light—the Night modes in the latest iPhone and Pixels do a much better job than point-and-shoot cameras. Even so, it’s a good idea to find some light to illuminate a snapshot. Whether it be some sunlight from a window for an indoor portrait, or a neon sign for a nighttime photo in a city, it’s always smart to find some environmental illumination—smartphone flashes leave a lot to be desired in comparison.
- Adjust Exposure:

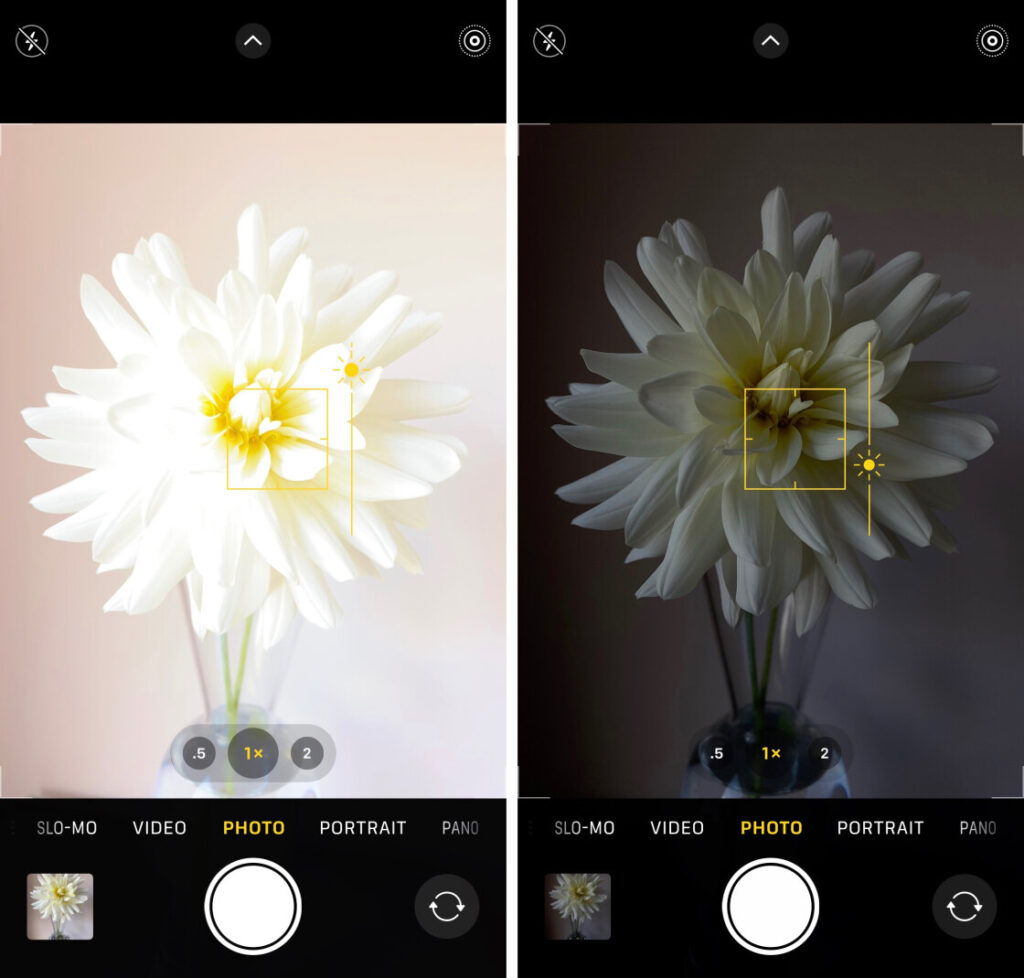
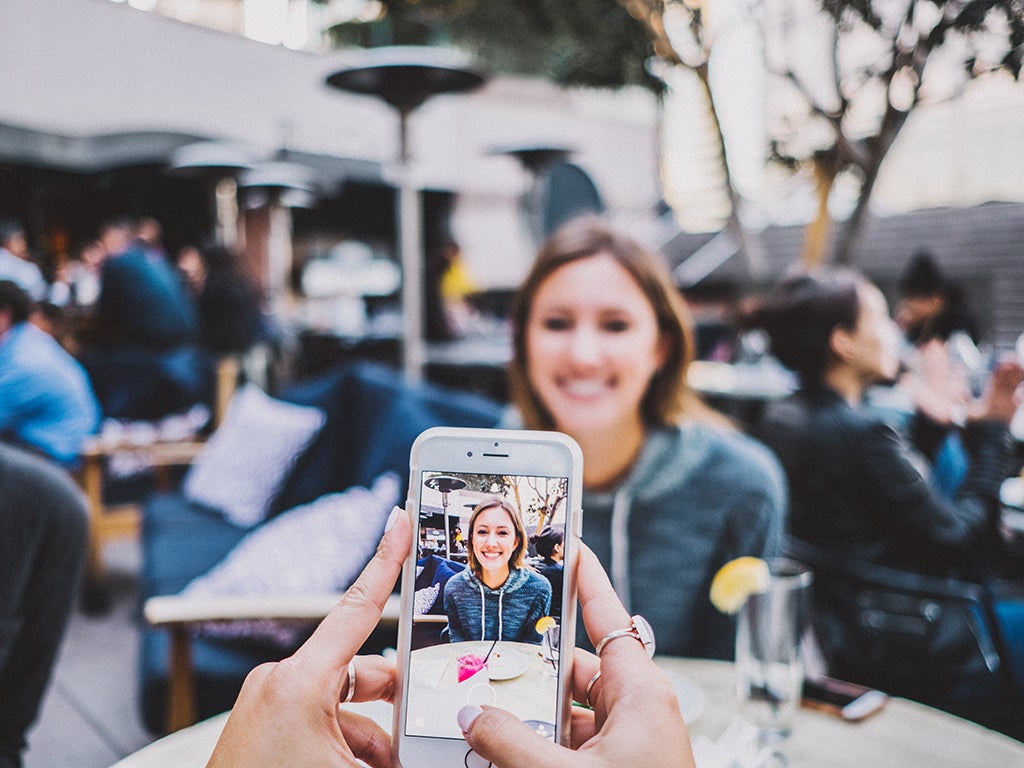
- Smartphones are the modern point-and-shoot, but the apps that run their cameras typically offer some level of manual control. The most basic adjustment you can make is exposure—brightening or darkening a scene—and using it effectively can turn a bland image into a head-turner. Use it to brighten the shot of your fancy dinner to make it perfect for Instagram, or to darken shadows in a portrait for a more dramatic look.
The feature isn’t always labeled the same. On an iPhone you’ll want to drag the sun icon, to the right of the focus confirmation box, up to brighten an image or down to darken it. Android phones typically have the more traditional +/- icon for exposure adjustment.
- Turn On Your Grid:

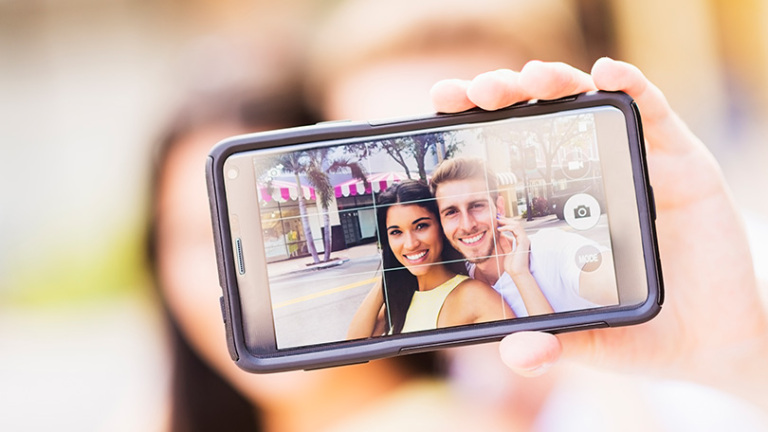
- Pro SLRs usually have framing grids in the viewfinder window to help you better square up shots and conform to compositional guidelines like the rule of thirds. (For more on composition and other photo basics, read our tips for basic photography, which apply as much to smartphones as they do to pro cameras.)
You can turn on the same thing in your phone’s camera app. Adding a grid line gives you help in keeping the horizon straight and is a big plus for portraits in front of famous landmarks. With the notable exception of the Leaning Tower of Pisa, it’s generally a good idea to keep upright structures perfectly vertical in your photos.
- Learn Your Camera’s Features:
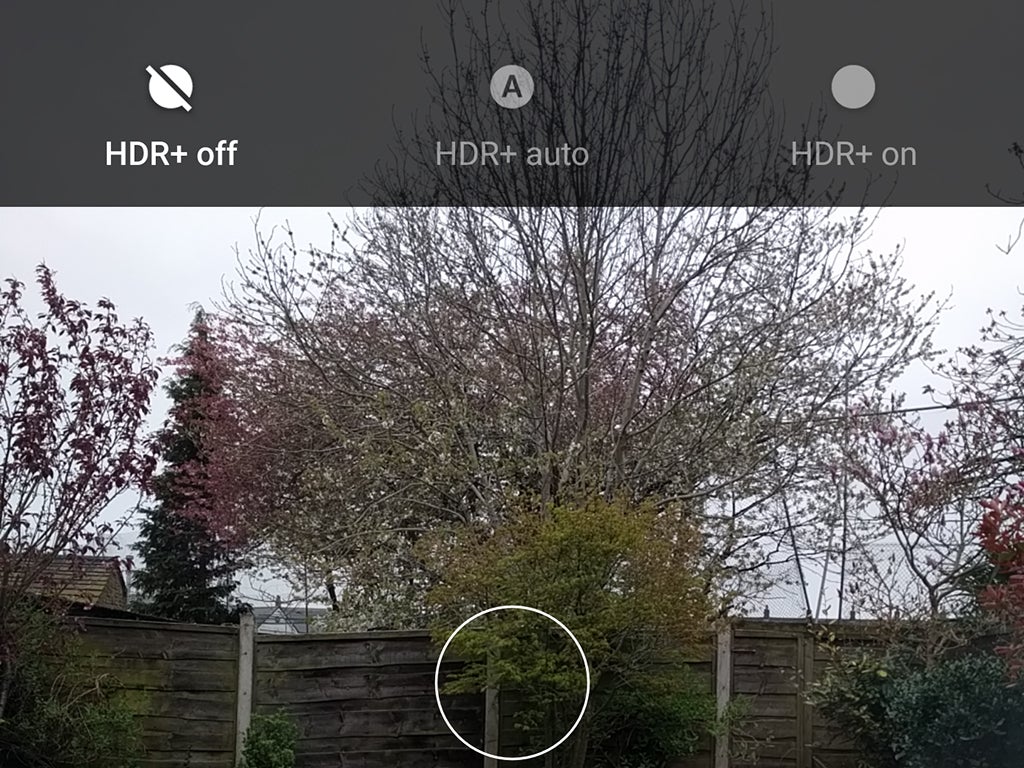
The imaging capabilities of modern smartphone cameras are staggering. We’ve seen advances in computational photography that allow you to make SLR-level photos with your phone. Learn what your phone does, and when to use them. You’ll want to turn on HDR for most phones for day-to-day photography. Use Night mode for images shot in dim interiors or outdoors after the sun has set. Portrait mode is an option on many phones; it blurs the background behind your subject and is sometimes called the Bokeh Effect. Those are the basics—some phones may have more specialized modes available.
- Try an Add-On Lens:

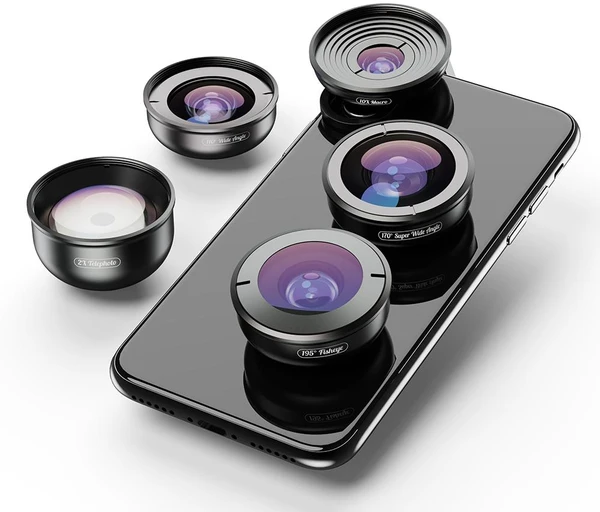
- Smartphone camera stacks are pretty complex. Basic phones may still have one rear lens, but midrange and higher-end handsets often include a wide-angle or telephoto lens as a complement. You may still want to add a quality add-on lens. We’ve tested a number of these over the years, and have found the lenses from Moment to be the best of the bunch. You’ll pay more than with a bargain-basement alternative, but you’ll see the difference in results. Picking the type of add-on lens is important too. I think a macro adds the most versatility to your phone’s camera, but you may prefer an ultra-wide, a fish-eye, or a telephoto conversion lens. Video fans should check out Moment’s anamorphic add-on, it gives footage an extra-wide cinematic aspect ratio.
- Get A Gimbal:

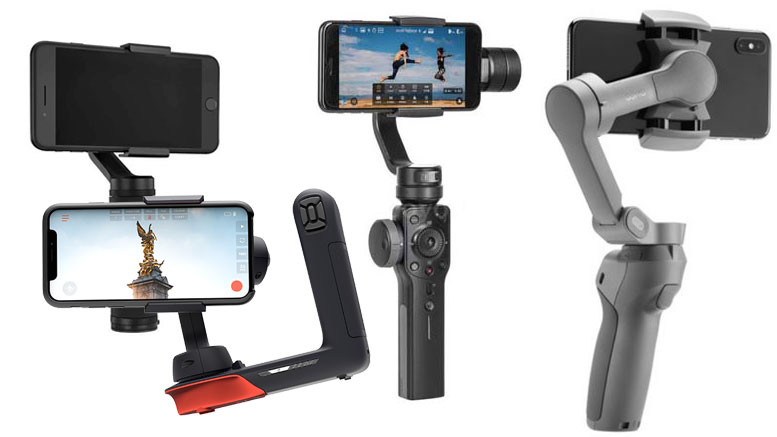
- It’s not all about images. Basic compact cameras are stuck at 1080p, but if you’ve got a recent smartphone you have a 4K-capable video camera in your pocket. Flagship models include optical image stabilization, but that can only go so far. If you want truly smooth, great-looking video, think about a powered gimbal to keep your phone steady. Our favorite is the DJI OM 5, a $160 device that steadies video, can track moving subjects, and also supports time-lapse and panoramic stitching.
YOU MAY LIKE: Video Marketing: 7 Guaranteed Ways To Boost Your Marketing Effort
- Add A Microphone:

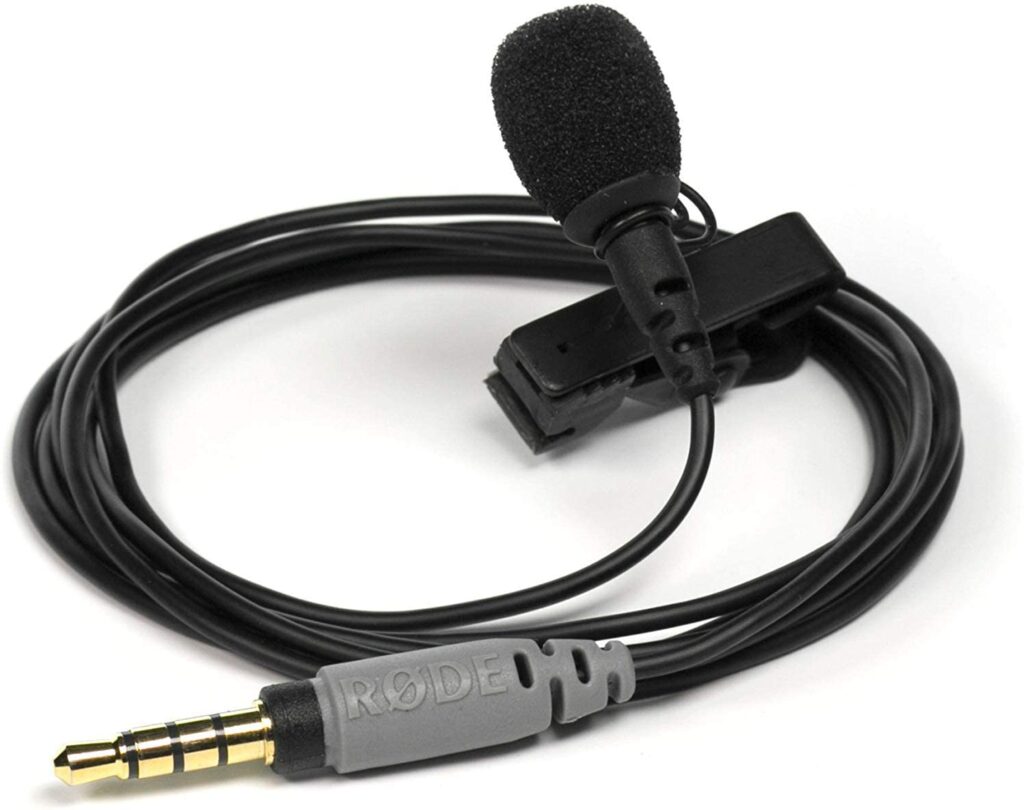
- When shooting video, good audio is more important than sharp footage. Your phone’s internal mic is meant for making phone calls—not recording high-quality audio. Headphone jacks may be disappearing from phones, but you can get a microphone that plugs directly into your USB or Lightning port, or one that works with your phone’s audio dongle. Just make sure to read some reviews to make sure the mic is compatible with your particular phone and its operating system.
- Stand Still, Hold Steady:

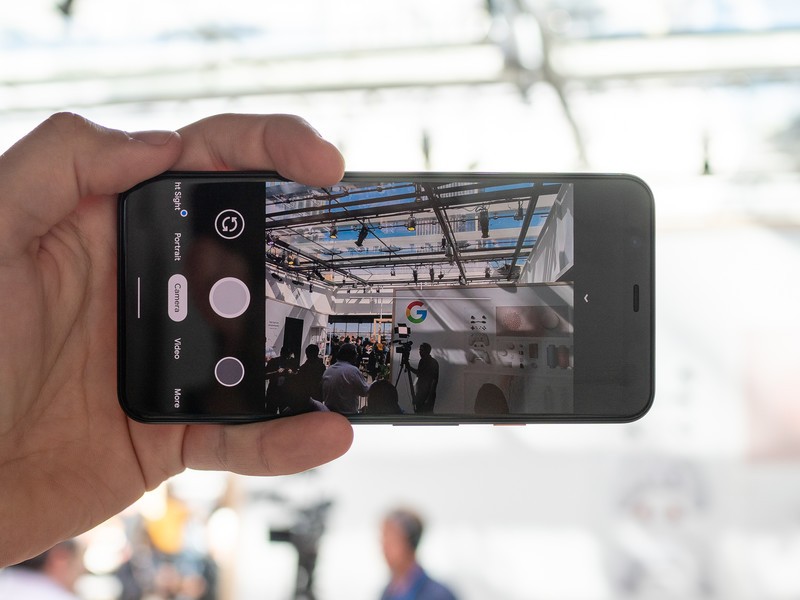
- Smartphones are incredibly lightweight devices and, folding phones aside, are very thin for a better fit your pocket than most dedicated cameras. That’s good news for portability, but it’s hard to hold a featherweight phone steady, and it takes some care to keep its lens plum and parallel to your subject. For better snapshots, take some time to set yourself before a shot. Stand steady, hold your phone like a camera (with both hands) and take advantage of any physical controls for exposure—if you can use a volume button to take a photo you can more easily hold your phone with two hands when making an image.
Our Best Smartphone Photography Tips And Tricks:
We hope you’ve learned something new and interesting, continue to use your smartphone to capture the world around you. Do you have a favorite tip, photo app, or accessory for use with your smartphone’s camera? Please share it in the comments below.